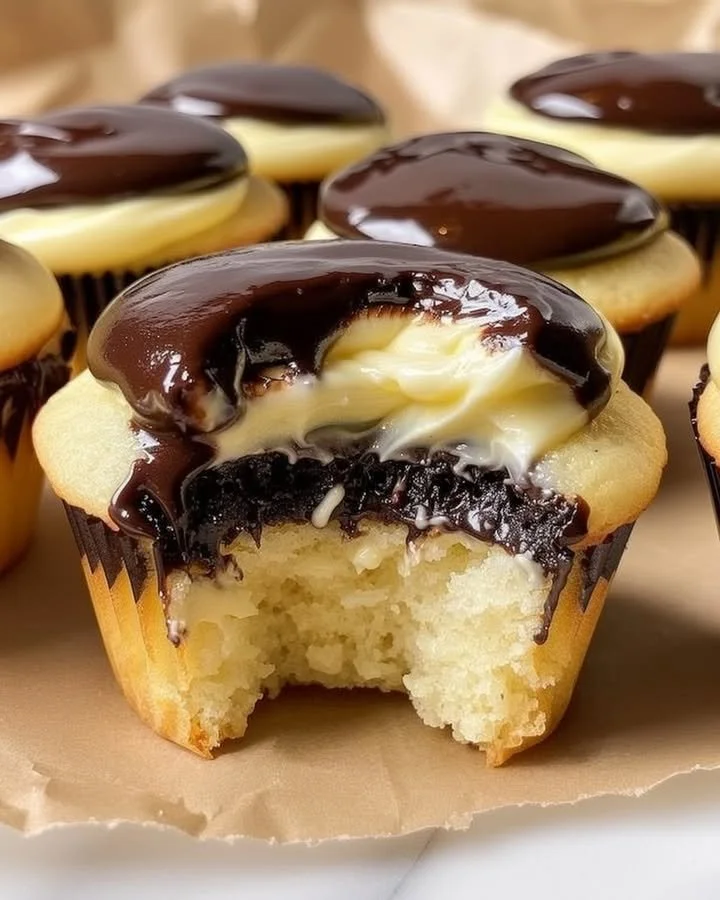
Boston Cream Cupcakes: Sweeten Your Day with This Delightful Treat
When you think of New England, visions of stunning fall foliage, quaint coastal towns, and yes, those iconic Boston cream cupcakes might come to mind! If you’re looking for a sweet distraction during a hectic week or something to wow friends at your next gathering, you’ve found it with these delightful little desserts. This recipe is perfect for busy women who deserve a mini escape from the daily grind, and trust me, baking these cupcakes will be as rewarding as the rich flavors they offer.
Why You’ll Love This Boston Cream Cupcake Recipe
Let’s be honest—who doesn’t love a cupcake? But when you throw in luscious cream filling and a silky chocolate glaze, you transform an ordinary day into a celebration! Whether it’s for a birthday, a special occasion, or simply to indulge yourself after a long week, these cupcakes promise to impress. And if you’re like me and juggle multiple roles each day, the best part is that they’re surprisingly easy to make.
Ingredients
Before we dive into the sweet making, let’s gather our ingredients. Here’s what you’ll need for these heavenly Boston cream cupcakes:
For the Cupcakes:
- 1 cup all-purpose flour
- 1 ½ teaspoons baking powder
- ¼ teaspoon salt
- ½ cup unsalted butter, softened
- 1 cup granulated sugar
- 2 large eggs
- 1 teaspoon vanilla extract
- ½ cup milk
For the Pastry Cream Filling:
- 1 cup milk
- ¼ cup granulated sugar
- 2 large egg yolks
- 2 tablespoons cornstarch
- 1 tablespoon unsalted butter
- 1 teaspoon vanilla extract
For the Chocolate Glaze:
- 1 cup semi-sweet chocolate chips
- ½ cup heavy cream
Directions
Alright, let’s put on our aprons and turn those ingredients into something magical!
Step 1: Bake the Cupcakes
- Preheat your oven to 350°F (175°C). Line a muffin tin with cupcake liners.
- In a bowl, whisk together the flour, baking powder, and salt. Set it aside; we’ll come back to it soon.
- In a large mixing bowl, beat the butter and sugar together until light and fluffy (about 3 minutes—this part is crucial and does add to the fluffiness of your cupcakes!).
- Add in the eggs one at a time, blending well after each addition, then mix in the vanilla.
- Alternate mixing in the dry ingredients and milk until just combined. Be careful not to overmix; we want tender cupcakes, not chewy ones!
- Spoon the batter into the lined cupcake tin, filling each about 2/3 full.
- Bake for 18-20 minutes or until a toothpick inserted comes out clean. Let them cool completely before we fill them—trust me, patience is key!
Step 2: Make the Pastry Cream Filling
- In a saucepan, heat the milk and half of the sugar until steaming (don’t boil it!).
- Meanwhile, whisk the egg yolks and cornstarch with the remaining sugar in a separate bowl.
- Slowly pour the hot milk into the egg mixture, whisking continuously to temper the eggs (you don’t want scrambled eggs!).
- Return the mixture to the saucepan and cook on medium heat, whisking until it thickens (around 5 minutes).
- Stir in the butter and vanilla extract, then transfer it into a bowl and cover with plastic wrap, pressing it directly onto the surface to prevent a skin from forming. Refrigerate until cool.
Step 3: Chocolate Glaze
- Place chocolate chips in a bowl.
- In a small saucepan, heat the cream until it just starts to simmer, then pour it over the chocolate. Let it sit for a minute, then whisk until smooth and glossy. Set aside to cool slightly.
Step 4: Assemble Your Cupcakes
- Once the cupcakes are cool, carve a small hole in the center of each using a knife or a cupcake corer.
- Pipe or spoon the pastry cream into each cupcake—don’t skimp; that heavenly cream is what makes this treat!
- Finally, drizzle or dip each filled cupcake into the chocolate glaze. Let the excess drip off before placing them on a wire rack to set.
And voilà! You’ve created Boston cream cupcakes that would make any pastry chef proud!
Tips for Success
- Don’t be shy with the filling! Remember, the more, the merrier when it comes to cream. Okay, maybe not overflowing, but you get the gist!
- Let the cupcakes cool completely. This bonding moment ensures they won’t turn into a gooey mess when you fill them.
- Experiment with flavors! A splash of almond extract in the batter or a sprinkle of flaky sea salt on the glaze can elevate your cupcakes to another level.
FAQs
Can I substitute the pastry cream with store-bought products?
Absolutely! A ready-made vanilla pudding can do in a pinch if you’re short on time. Just know that homemade is always best for that nostalgic touch!
How can I store leftovers?
These cupcakes can be stored in an airtight container in the fridge for up to three days. Just know that the glaze may not stay as shiny!
The Bottom Line
Baking these Boston cream cupcakes creates not just a delightful dessert but also a charming experience in your kitchen. It’s all about savoring the small moments, whether it’s indulging in your treat after a hectic day or sharing a sweet bite among loved ones. So grab those ingredients, unleash your inner baker, and let’s create a delicious memory that pairs perfectly with coffee and laughter.
For more sweet indulgences, check out our Chocolate Chip Cookies recipe and surprise your family with a classic favorite!
Meta Description
Boston cream cupcakes are the perfect recipe for a sweet treat. Quick, easy, and delicious—these will become your go-to dessert. Try them today!
Boston Cream Cupcakes
Ingredients
Method
- Preheat your oven to 350°F (175°C). Line a muffin tin with cupcake liners.
- In a bowl, whisk together the flour, baking powder, and salt. Set it aside.
- In a large mixing bowl, beat the butter and sugar together until light and fluffy, about 3 minutes.
- Add in the eggs one at a time, blending well after each addition, then mix in the vanilla.
- Alternate mixing in the dry ingredients and milk until just combined. Be careful not to overmix.
- Spoon the batter into the lined cupcake tin, filling each about 2/3 full.
- Bake for 18-20 minutes or until a toothpick inserted comes out clean. Let them cool completely.
- In a saucepan, heat the milk and half of the sugar until steaming, but do not boil.
- In a separate bowl, whisk the egg yolks and cornstarch with the remaining sugar.
- Slowly pour the hot milk into the egg mixture while whisking continuously to temper the eggs.
- Return the mixture to the saucepan and cook on medium heat, whisking until it thickens, about 5 minutes.
- Stir in the butter and vanilla extract, cover with plastic wrap, and refrigerate until cool.
- Place chocolate chips in a bowl.
- In a small saucepan, heat the cream until it just starts to simmer, then pour it over the chocolate.
- Let it sit for a minute, then whisk until smooth and glossy. Set aside to cool slightly.
- Once the cupcakes are cool, carve a small hole in the center of each.
- Pipe or spoon the pastry cream into each cupcake.
- Drizzle or dip each filled cupcake into the chocolate glaze and let the excess drip off before placing them on a wire rack to set.