
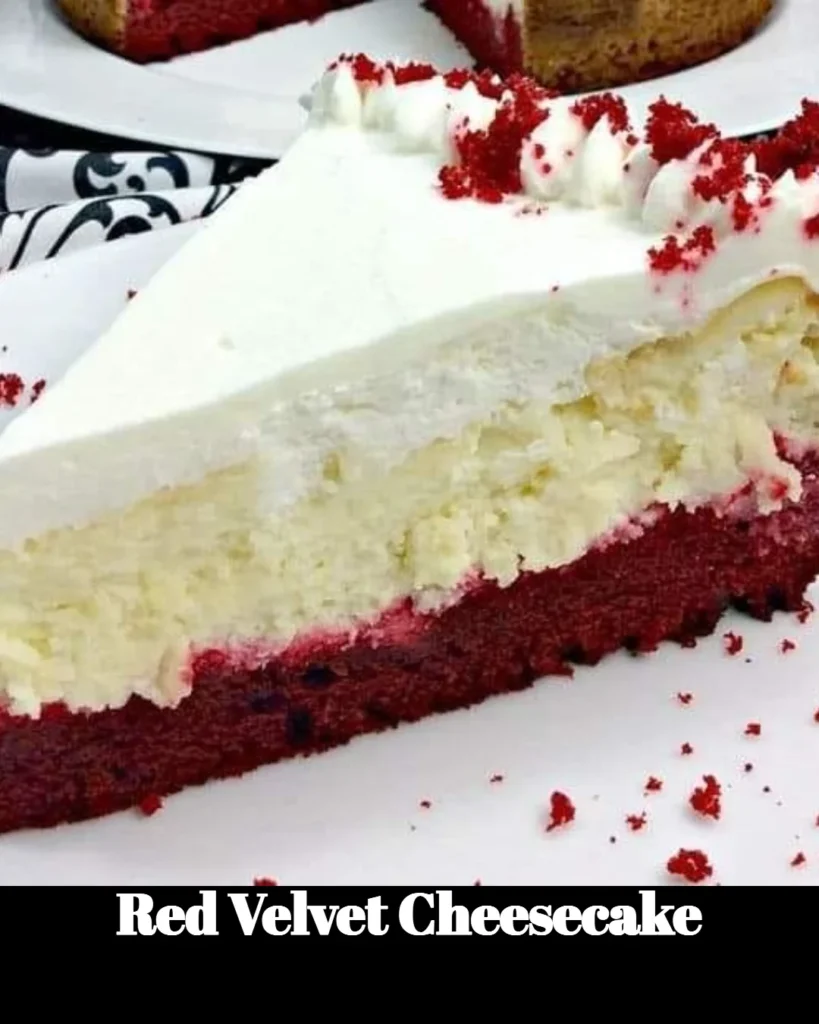
Red Velvet Cheesecake: A Showstopper for Any Occasion
Let’s be honest—there aren’t many desserts as striking as a classic red velvet cheesecake. It combines the richness of cheesecake with the festive charm of red velvet, and honestly, it looks like a million bucks on your table without requiring a PhD in baking. Whether you’re planning a cozy family dinner, a special celebration, or simply want to impress your friends (maybe even win the “hostess with the mostest” title), this Red Velvet Cheesecake is your ticket to culinary glory. So grab your apron, because we’re about to dive into this delightful recipe!
Why You’ll Love This Red Velvet Cheesecake
Here’s the deal: if you’ve ever tasted the smooth, creamy goodness of cheesecake combined with the light cocoa flavor and vibrant hue of red velvet, then you know what pure bliss tastes like. This dessert is rich without being overly heavy, and guess what? You can slice it up and serve it with style! Perfect for those who think they don’t have time to bake, you’ll find this recipe so straightforward that even your busy schedule will thank you.
Ingredients
Before we get our hands dirty, let’s check out what you’ll need for this sumptuous dessert:
For the Red Velvet Cake Layer:
- 1 ¾ cups all-purpose flour
- 1 cup granulated sugar
- ½ cup unsweetened cocoa powder
- 1 teaspoon baking soda
- ½ teaspoon salt
- 1 cup vegetable oil
- ¾ cup buttermilk, room temperature
- 2 large eggs, room temperature
- 2 tablespoons red food coloring
- 1 teaspoon vanilla extract
- 1 teaspoon white vinegar
For the Cheesecake Layer:
- 16 ounces cream cheese, softened
- 1 cup granulated sugar
- 3 large eggs, room temperature
- 1 teaspoon vanilla extract
- 1 cup sour cream, room temperature
Directions
Now that we’ve assembled our stars, let’s get baking!
-
Preheat the Oven: Preheat your oven to 350°F (175°C). Don’t skimp on this step! A properly heated oven is critical to achieving that perfect texture.
-
Prepare the Red Velvet Cake: In a large bowl, whisk together the flour, sugar, cocoa powder, baking soda, and salt until well combined. In another bowl, mix the vegetable oil, buttermilk, eggs, food coloring, vanilla, and vinegar. Combine the wet and dry ingredients, mixing until just combined.
-
Bake the Cake Layer: Pour the cake batter into a greased 9-inch springform pan. Bake for about 25 minutes, or until a toothpick comes out clean. Let it cool for 10 minutes, then carefully remove it from the springform pan and place it on a wire rack to cool completely.
-
Prepare the Cheesecake Layer: In a large mixing bowl, beat the softened cream cheese until it’s smooth and creamy. Gradually add the sugar, mixing until combined. Add the eggs (one at a time), mixing well after each addition. Stir in the vanilla extract and sour cream until well incorporated.
-
Combine Layers: Once the red velvet cake has cooled completely, return it to the springform pan or place it back in the greased pan. Pour the cheesecake batter evenly over the cake layer.
-
Baking the Cheesecake: Bake for 60-70 minutes or until the cheesecake is set (it should jiggle slightly in the center). Once done, let it cool in the oven with the door slightly ajar for about an hour. This cool-down step helps prevent cracks—because nobody wants a cracked cheesecake on their big reveal!
-
Chill & Serve: After cooling, refrigerate for at least four hours, ideally overnight (this part is the hardest, I know!). When you’re ready to serve, run a knife around the edge for easy removal and slice into glorious pieces.
Cooking Tips
- Room Temperature Ingredients: Make sure your cream cheese and eggs are at room temperature to avoid lumps in your cheesecake batter. Trust me, your future self will thank you!
- Cut with Care: Use a hot, sharp knife to slice your cheesecake—this gives you those pretty, neat edges that will impress your guests.
- Garnish Wisely: Want to step it up a notch? Top it with some whipped cream or chocolate shavings. Or just grab a fork and dig right in—that works too!
Personal Note
One of my fondest kitchen memories was the first time I made this cheesecake for a family gathering. My sister Patricia and I spent hours perfecting it, giggling as we accidentally colored ourselves red with the food dye. The look of joy on my kids’ faces was priceless as they devoured slice after slice, and trust me, the dessert made it into the family recipe book after that day!
FAQs
Can I substitute red food coloring?
Yes! You can use beet juice for a more natural option, but the color might be a bit different.
How do I store leftovers?
Store leftover cheesecake in an airtight container in the fridge for up to five days. If it lasts that long, congrats!
Can I freeze this cheesecake?
Absolutely! Wrap it well in plastic wrap and foil, and it can last in the freezer for up to 3 months. Just let it thaw in the fridge before serving.
Enjoying this Red Velvet Cheesecake recipe is about more than just its delicious flavor and stunning appearance; it’s about fostering connections over dessert as you make memories with family and friends. So, roll up those sleeves, get a little messy, and let’s create something magical together! The best part? You’ll have a stunning cheesecake to show for it. Happy baking!
Meta Description:
Red Velvet Cheesecake is the perfect recipe for impressing guests. Quick, easy, and delicious, this dessert will steal the show at any gathering!
For more deliciously engaging recipes, check out my Easy Chocolate Chip Cookies or explore Creative Cheesecake Variations! You won’t be disappointed!
Red Velvet Cheesecake
Ingredients
Method
- Preheat your oven to 350°F (175°C).
- In a large bowl, whisk together the flour, sugar, cocoa powder, baking soda, and salt until well combined.
- In another bowl, mix the vegetable oil, buttermilk, eggs, food coloring, vanilla extract, and vinegar. Combine the wet and dry ingredients, mixing until just combined.
- Pour the cake batter into a greased 9-inch springform pan. Bake for about 25 minutes, or until a toothpick comes out clean.
- Let it cool for 10 minutes, then carefully remove it from the springform pan and place it on a wire rack to cool completely.
- In a large mixing bowl, beat the softened cream cheese until it’s smooth and creamy.
- Gradually add the sugar, mixing until combined. Add the eggs one at a time, mixing well after each addition.
- Stir in the vanilla extract and sour cream until well incorporated.
- Once the red velvet cake has cooled completely, return it to the springform pan. Pour the cheesecake batter evenly over the cake layer.
- Bake for 60-70 minutes or until the cheesecake is set and jiggles slightly in the center.
- Once done, let it cool in the oven with the door slightly ajar for about an hour to prevent cracks.
- Refrigerate for at least four hours, ideally overnight.
- Run a knife around the edge for easy removal and slice into glorious pieces.