
Homemade Butter Mints: Your New Sweet Obsession
If you’re anything like me, the words “homemade butter mints” might just make your heart skip a beat! There’s something about these little gems that brings back sweet memories, whether it’s a family gathering, a wedding, or a cozy holiday celebration. Not only are they deliciously minty, but they are also incredibly easy to make at home. So, if you’re looking for a delightful treat to impress your friends or just want to add a little sweetness to your day, you’ve landed in the right spot!
Why You’ll Love These Homemade Butter Mints
These homemade butter mints are a breeze to whip up, taking you on a nostalgic trip down memory lane with every bite. Imagine indulging in a creamy, melt-in-your-mouth mint that dances on your taste buds, all while knowing you made them from scratch! Plus, these mints are not only perfect for parties but also make great little gifts or party favors. Who wouldn’t love receiving a tin of these sweet delights?
Ingredients
Before we dive into the magic of mint-making, let’s gather our ingredients. You’ll need:
- 1/4 cup (1/2 stick) unsalted butter, softened
- 2 cups powdered sugar
- 2 tablespoons milk
- 1 teaspoon peppermint extract
- 2-3 drops of food coloring (optional)
That’s it! Just a few pantry staples and you’re golden.
Steps to Make Homemade Butter Mints
-
Cream the Butter
Start by placing your softened butter in a large mixing bowl. Beat it with an electric mixer until it’s fluffy. Trust me, this step is crucial for that melt-in-your-mouth texture! -
Add the Sugar
Gradually mix in the powdered sugar, a cup at a time. This can be a little messy, so maybe put on a fun apron first. (My favorite is one that says “Whisk Taker”!) Keep mixing until it’s well combined. -
Incorporate the Milk and Peppermint
Add in the milk and peppermint extract. If you want to take it up a notch, add a few drops of food coloring for that pop of color. Mix until it’s nice and smooth. -
Form the Mints
Now comes the fun part! Take small pieces of the mixture and roll them into little balls or shape them into your desired minty shapes. No pressure—just have fun with it! -
Chill
Place your formed mints onto a baking sheet lined with parchment paper and pop them into the fridge for at least 30 minutes. This helps them firm up and makes them easier to handle. -
Enjoy!
Once they’re chilled, take them out and enjoy! You’ve earned it, my friend.
Cooking Tips for Perfect Butter Mints
- Keep It Cool: If your dough feels too soft to shape, don’t hesitate to chill it for a few minutes. Nobody wants sticky fingers while mints are being made!
- Experiment with Flavors: While peppermint is iconic, you can switch things up with other extracts like spearmint, chocolate mint, or even cinnamon!
- Storage Magic: Store your mints in an airtight container at room temperature for up to two weeks (if they last that long!).
A Little Personal Touch
I can still remember the first time my sister Patricia and I tried making butter mints. We didn’t have a recipe, just a vague recollection from our grandmother. Spoiler alert: we made a mint explosion! But it was a blast, and those messy mints ended up being the best part of the day, cementing our love for sweet creations. Now, every time I make these little bites of joy, I’m reminded of that day!
FAQs About Homemade Butter Mints
Can I substitute the peppermint extract?
Absolutely! Feel free to try other flavors like vanilla or almond. Just remember, these mints are all about what tickles your fancy.
How do I store leftovers?
Once the mints are formed and have chilled, keep them in an airtight container. They’ll stay fresh and delicious for a couple of weeks at room temperature.
Can I freeze homemade butter mints?
Yes! Just make sure to layer them between sheets of parchment paper in a freezer-safe container. They can be stored for up to three months, so you’ll always have a sweet treat on hand!
So there you have it—your guide to crafting mouthwatering homemade butter mints. Whether you’re whipping them up for a special occasion or just to indulge your sweet tooth, I promise they’ll bring a smile to your face (and maybe a few to your friends’ faces too). So grab your apron, turn on your favorite tunes, and let’s cook up some joy!
If you enjoyed this treat, check out my easy homemade fudge recipe or our delightful peanut butter blossoms for more sweet adventures!
Meta Description: Homemade butter mints are the perfect quick & easy treat. Impress friends with this simple recipe that’s irresistibly delicious. Try it today!
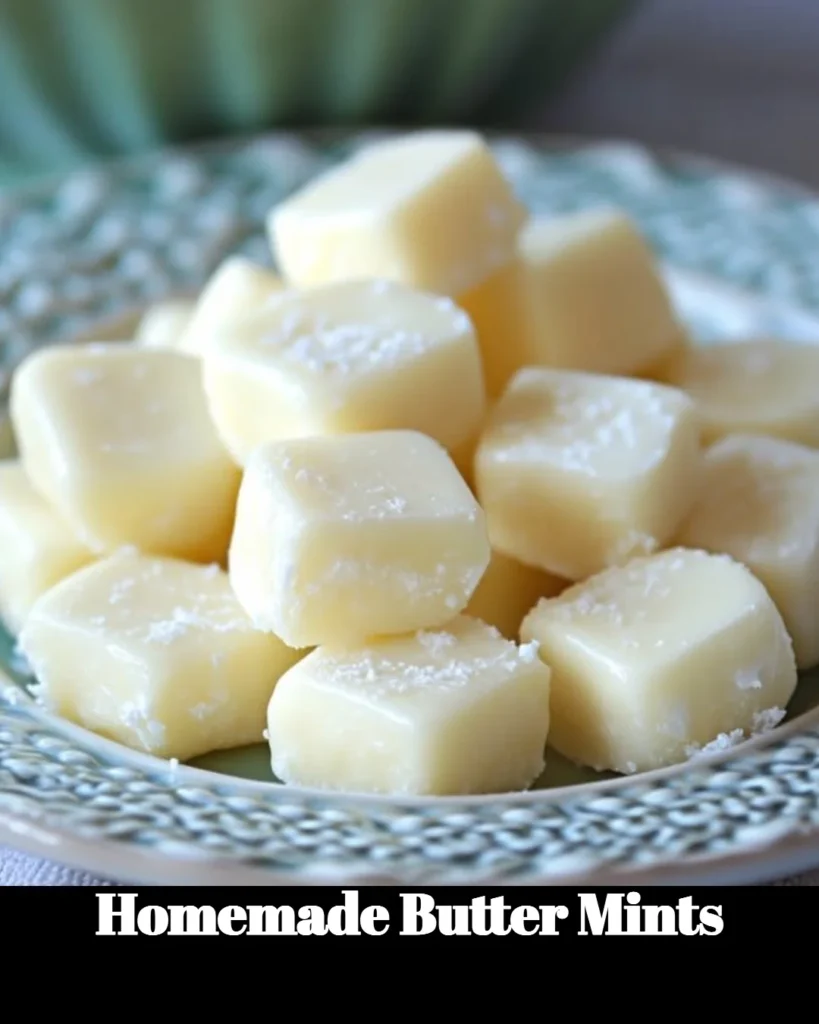
Homemade Butter Mints
Ingredients
Method
- Start by placing your softened butter in a large mixing bowl. Beat it with an electric mixer until it's fluffy.
- Gradually mix in the powdered sugar, a cup at a time until well combined.
- Add in the milk and peppermint extract. Mix until smooth. Add food coloring if desired.
- Take small pieces of the mixture and roll them into little balls or shape them as desired.
- Place formed mints onto a baking sheet lined with parchment paper and refrigerate for at least 30 minutes.
- Once chilled, enjoy your homemade butter mints!