Club Sandwich Sliders: Your New Favorite Game-Day Snack!
Welcome to your next culinary discovery—the Club Sandwich Sliders! These delightful little bites are like a party in your mouth, and let’s be real, who doesn’t love a good slider? Perfect for casual hangouts, home-gating during the big game, or just when you want something tasty without all the fuss. We all have those days, right? Whether you’re returning home from chasing after the kids or wrapping up a day at work, these sliders are an easy-peasy solution for dinner or a snack that won’t require a background in culinary arts!
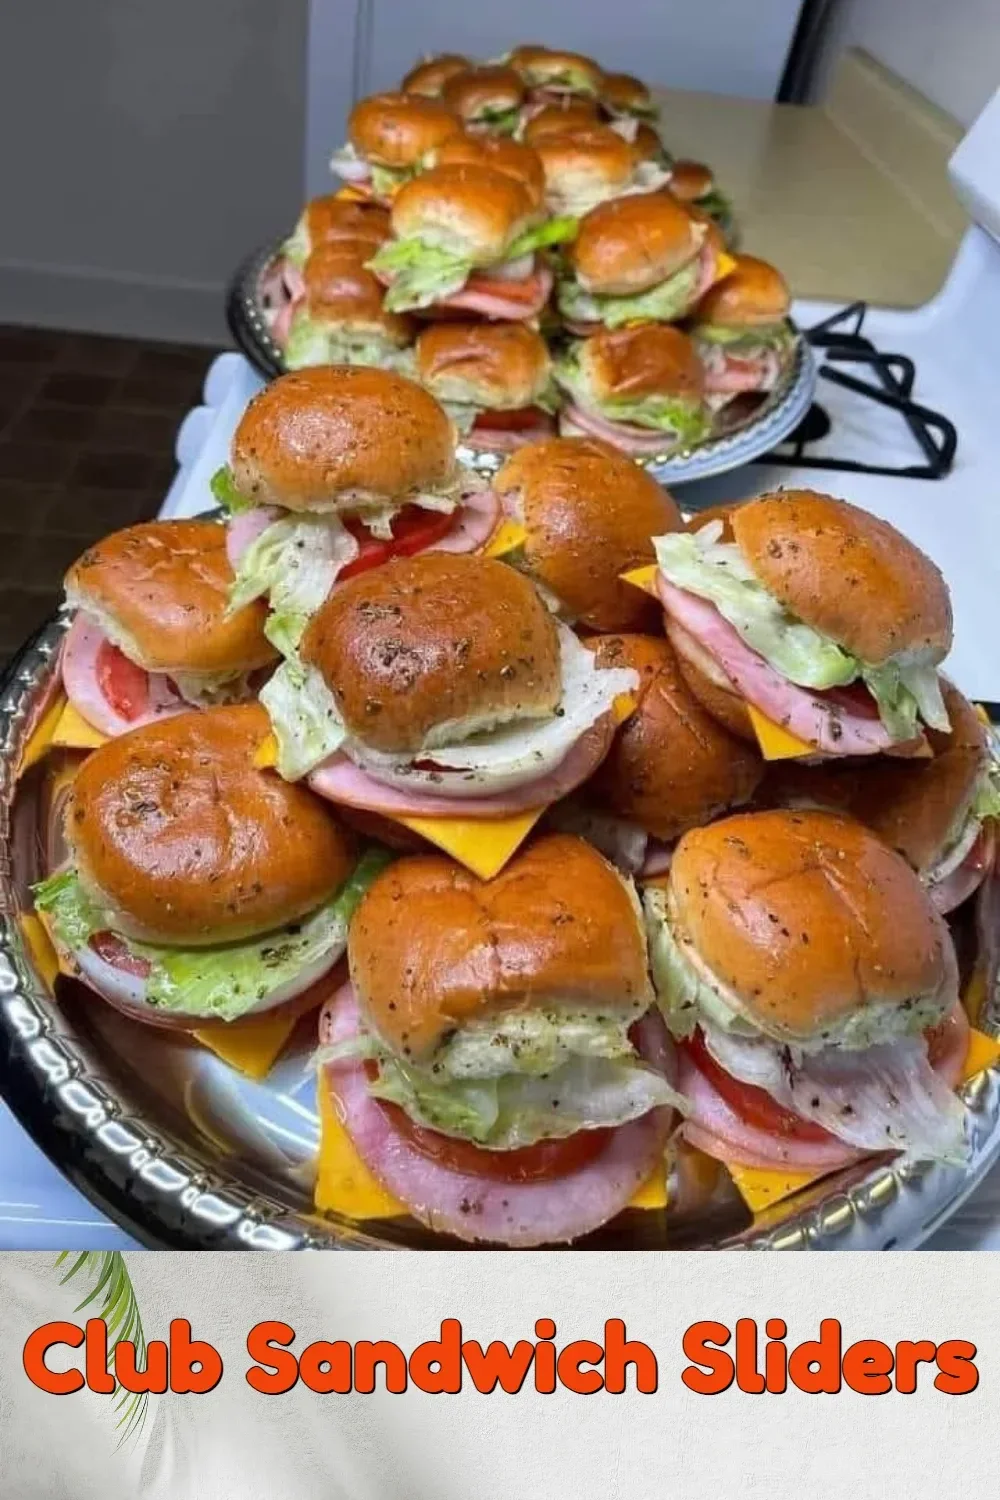
Why You’ll Love These Club Sandwich Sliders
These sliders are a true crowd-pleaser, and here’s the best part: they come together quicker than it takes to change your mind about what’s for dinner! With layers of turkey, bacon, lettuce, and tomato nestled between pillowy soft slider buns, they’re not only adorable but absolutely delicious. They’re customizable, too! Prefer ham? Go for it. Vegetarian? Just skip the meat entirely and load up on your favorite veggies! Plus, they’re perfect for sharing—or keeping all to yourself if you’re feeling a little selfish (no judgment here!).
Ingredients
Before we dive into the fun part, let’s gather our goodies:
- 12 slider buns (the mini-bun wonders)
- 1 pound deli turkey (or your favorite deli meat)
- 1/2 pound bacon (because, let’s be honest, bacon makes everything better)
- 1 cup lettuce (shredded for that perfect crunch)
- 1 large tomato (sliced beautifully)
- 1 cup cheese (Swiss or cheddar—your call!)
- Mayonnaise (for spreading goodness)
- Salt and pepper (to taste, of course!)
Directions
Now that you’ve got your ingredients laid out, let’s get cooking with these scrumptious sliders!
-
Cook the Bacon: Start by frying the bacon in a skillet over medium heat until crispy. The smell will instantly have your family scrambling to the kitchen (you’re welcome). When done, transfer the crispy strips to a paper towel to drain.
-
Prepare the Sliders: Slice the slider buns horizontally to create a top and bottom half. If you’re feeling adventurous (and a little ambitious), you can also toast them on the same skillet for extra flavor.
-
Layer the Goodness: Start assembling the sliders on the bottom halves of the buns. Spread a generous dollop of mayonnaise, then layer on the turkey, followed by a slice of cheese, lettuce, tomato, and finally the crispy bacon.
-
Season It Up: Sprinkle a pinch of salt and pepper to elevate those flavors—because who are we kidding, no one wants bland food!
-
Top It Off: Close the sliders with the top buns. You can secure them with toothpicks if you’re feeling extra fancy (or just want to avoid a messy moment when serving).
-
Serve and Enjoy: Arrange the sliders on a platter and watch as they disappear like magic! They can be served immediately or kept warm in a low oven for a bit while you bring out the drinks.
Cooking Tips
-
Make It Ahead: These sliders can be assembled in advance and refrigerated for a party. Just bake them in the oven to warm them up before serving! It’s like giving yourself a high-five for planning ahead.
-
Experiment with Ingredients: The beauty of sliders is that you can make them as creative as your heart desires! How about adding some avocado for creaminess, or switching up the protein for something like roasted chicken? The world is your oyster—or slider!
Personal Touch
I remember the first time Patricia and I whipped up these sliders for a family gathering. We were running around the kitchen, trying to keep everything organized (spoiler: we weren’t very organized). But once we set them out, they vanished before my eyes. It’s one of those recipes that brings everyone together—trust me, you’ll be asked for the recipe, and you’ll feel like a rock star for being the culinary genius behind it!
FAQs
Can I substitute mayonnaise? Absolutely! If mayonnaise isn’t your jam, try using mustard, hummus, or your favorite dressing for a different twist.
How can I store leftovers? If you have any sliders left (which is a big if!), store any assembled sliders in an airtight container in the fridge. They should be good for a day or two—just reheat in the oven before enjoying!
Wrap-Up
In conclusion, these Club Sandwich Sliders are not just a meal; they’re a delightful experience. Easy, tasty, and sure to please even the pickiest of eaters, they will quickly become a staple in your recipe collection. So, the next time you are looking for a quick, satisfying meal that brings a smile to everyone’s faces, remember this recipe. Get ready to enjoy some good company and even better food—because let’s face it, nothing says "party" like sliders!
Don’t forget to check out other delightful recipes on my blog, like our famous Homemade Potato Chips or the always popular Classic Chili. Happy cooking!
Meta Description: Club Sandwich Sliders are the perfect recipe for busy days. Quick, easy, and delicious, these sliders will become your new go-to snack.