
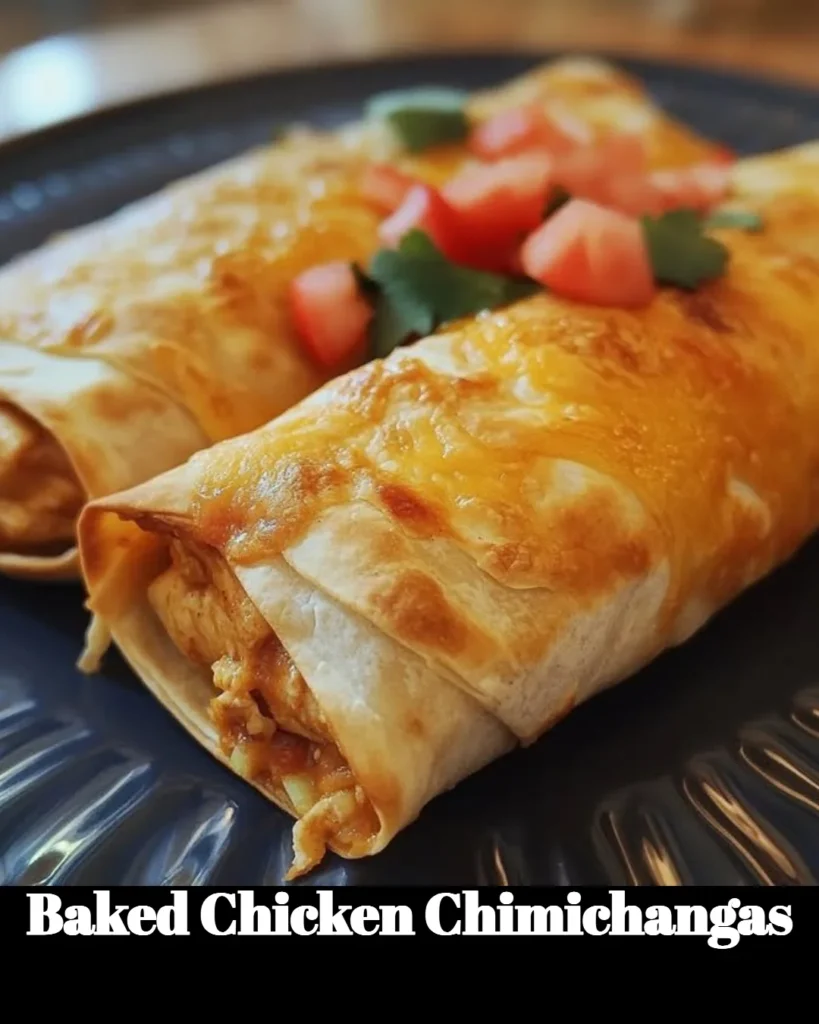
Baked Chicken Chimichangas: Your New Family Favorite
Are you looking for a quick, delicious, and slightly crispy dish that your family will devour while still sticking to your healthy eating goals? Look no further than Baked Chicken Chimichangas! This recipe is not just a feast for your taste buds; it’s also the perfect solution for busy weeknights or cozy weekend gatherings. So grab your apron and get ready for an adventure that’ll make your kitchen smell heavenly!
Why You’ll Love These Baked Chicken Chimichangas
Trust me; this recipe has it all! Baked Chicken Chimichangas marry the comfort of traditional Tex-Mex flavors with a lighter baking method. You’re not just rolling chicken in a tortilla; you’re wrapping your family in a warm, flavorful embrace with every bite. Even your picky eaters will find themselves reaching for more—it’s that good! Plus, these chimichangas can easily adapt to fit your family’s tastes and dietary needs.
Ingredients
Before we dive into these mouthwatering wraps, let’s gather our trusty ingredients:
- 2 cups cooked chicken, shredded (perfect for using up that rotisserie chicken!)
- 1 cup black beans, drained and rinsed
- 1 cup corn, frozen or canned
- 1 cup shredded cheese (cheddar or Mexican blend)
- 1 teaspoon chili powder
- 1 teaspoon cumin
- 1/2 teaspoon garlic powder
- Salt and pepper to taste
- 4 large flour tortillas
- Olive oil spray (for that crispy finish)
- Optional toppings: salsa, sour cream, guacamole, or fresh cilantro
Steps to Deliciousness
Now, let’s get started!
-
Preheat Your Oven: Begin by preheating your oven to 400°F (200°C). This is the part of the kitchen adventure where the magic starts!
-
Mix It Up: In a large mixing bowl, combine the shredded chicken, black beans, corn, cheese, chili powder, cumin, garlic powder, salt, and pepper. Stir until well blended. You might want to taste-test this step—we won’t judge!
-
Wrap It Up: Lay a tortilla flat on a clean surface. Spoon about 1/2 cup of the chicken mixture onto the center of the tortilla. Fold in the sides and then roll it up tightly, like you’re tucking your kids in for the night. Repeat for the remaining tortillas.
-
Get Baking: Place the chimichangas seam-side down on a baking sheet lined with parchment paper. Lightly spray the tops with olive oil to get that crispy, golden finish we all dream of.
-
Bake Away: Bake in the preheated oven for about 25-30 minutes or until golden brown. It’s the moment we’ve all been waiting for—the kitchen will smell incredible!
Cooking Tips
-
Don’t Stress About Filling: If you’re feeling creative (or your fridge is looking a bit bare), feel free to toss in additional ingredients like diced peppers or onions!
-
Leftover Magic: These chimichangas are excellent as leftovers. Just reheat them in the oven if you have any left, which, let’s be honest, might not happen!
-
Mess-Free Toppings: Set up a toppings bar with salsa, sour cream, guacamole, or chopped cilantro. Let everyone customize their chimichangas, and you’ll be the culinary superhero of the night.
Personal Touch
Baked Chicken Chimichangas quickly became my go-to dish for family gatherings after my kids declared them the "best wraps ever." Now, I often make a double batch, so I can freeze some for those days when dinner feels like a Herculean effort. Knowing I have a delicious meal waiting for me in the freezer? Absolute game-changer!
FAQs
Can I substitute the chicken in this recipe?
Absolutely! Ground turkey or beef, or even canned tuna can work in a pinch. Just season it the same way!
How can I store leftovers?
Store any leftovers in an airtight container in the fridge for up to 3 days, or in the freezer for up to 2 months. Reheat in the oven for the best result!
Can I make these vegetarian?
You bet! Substitute chicken with sautéed veggies, tofu, or add more beans for a protein-packed option.
Baked Chicken Chimichangas are not just a dish; they’re a celebration of flavors that brings families together. Whether you’re hosting friends or just enjoying a quiet evening at home, this recipe promises delight with every bite. So, gather your ingredients and get ready to whip up something incredible. Your taste buds—and your family—will thank you!
Meta Description: Baked Chicken Chimichangas are the perfect recipe for busy weeknights! Quick, easy, and delicious, this dish will become your go-to meal. Try it today!
Don’t forget to check out my other favorite family-friendly recipes, like One-Pan Chicken Fajitas or Vegetable Quesadillas, for more flavor-packed meal ideas!
Baked Chicken Chimichangas
Ingredients
Method
- Preheat your oven to 400°F (200°C).
- In a large mixing bowl, combine the shredded chicken, black beans, corn, cheese, chili powder, cumin, garlic powder, salt, and pepper. Stir until well blended.
- Lay a tortilla flat on a clean surface. Spoon about 1/2 cup of the chicken mixture onto the center of the tortilla. Fold in the sides and then roll it up tightly.
- Place the chimichangas seam-side down on a baking sheet lined with parchment paper. Lightly spray the tops with olive oil.
- Bake in the preheated oven for about 25-30 minutes or until golden brown.