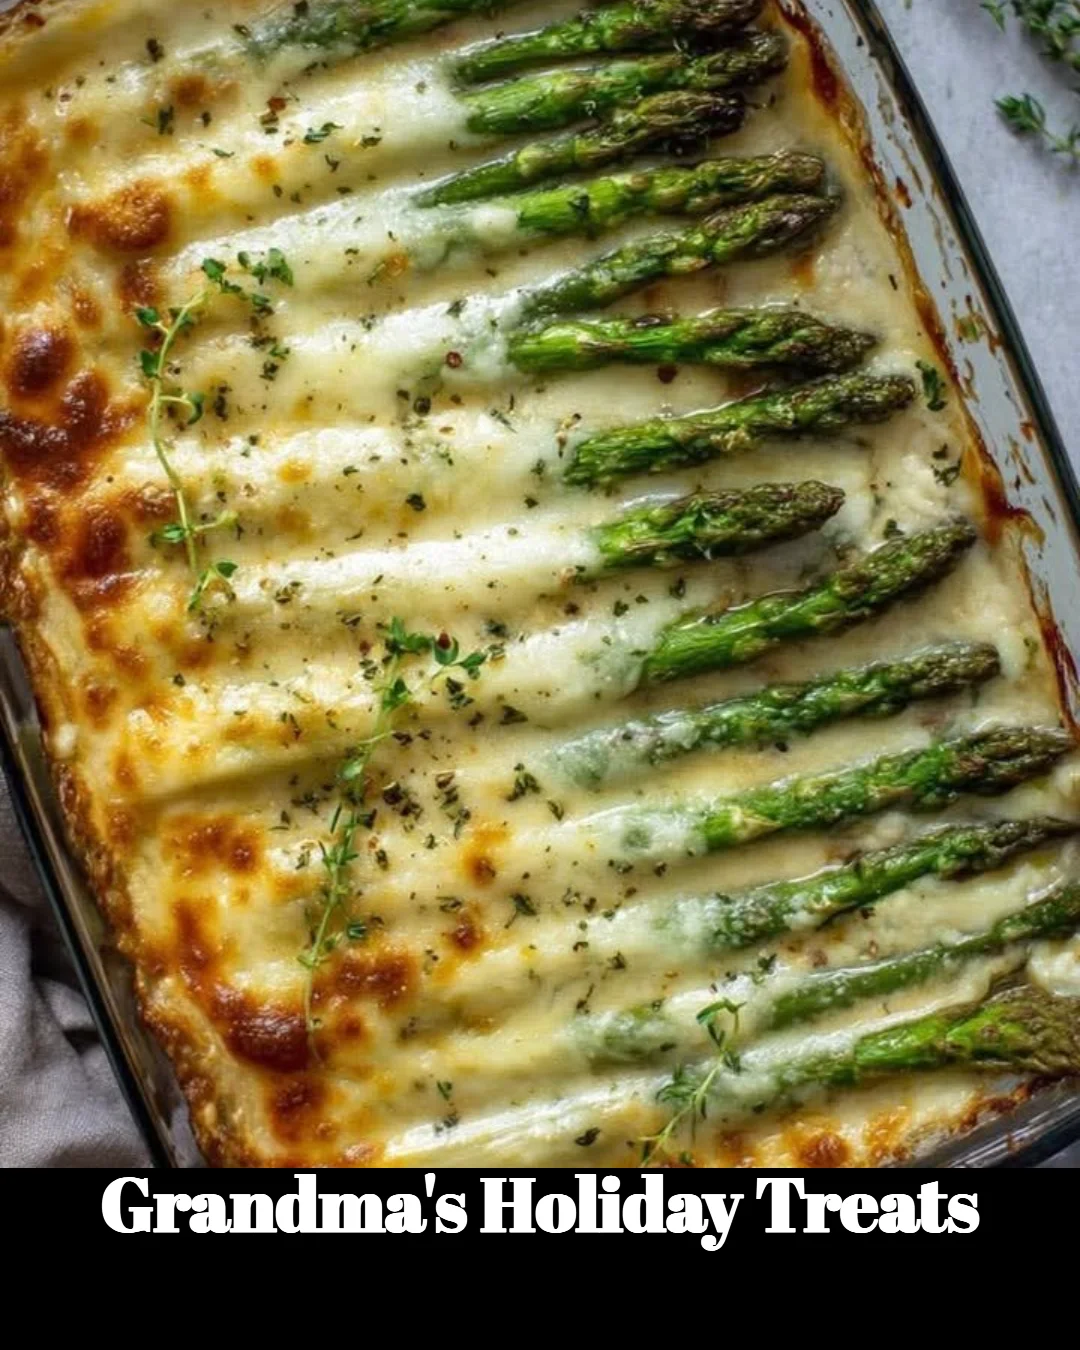
Grandma’s Holiday Treats: A Taste of Nostalgia
As the holiday season approaches, there’s nothing quite like Grandma’s Holiday Treats to bring back comforting memories while filling your kitchen with the delightful aroma of sweet nostalgia. Whether you’re scrambling to find a dessert for that last-minute gathering or wanting to impress your family with something homemade (that sounds impressive, even if you’re still trying to figure out that elusive cookie recipe), this dish is your go-to!
Why You’ll Love Grandma’s Holiday Treats
This charming recipe for Grandma’s Holiday Treats is not just another sweet; it’s a heartfelt reminder of family gatherings where laughter fills the air and love is always the secret ingredient. These treats are perfect for sharing with loved ones, or let’s be honest—keeping some all to yourself when the kids are busy or out of sight! They’re quick to whip up, incredibly easy to make, and oh-so-delicious. What more could you want during the festive season?
Ingredients
Before we dive into the sweet-making goodness, here’s what you’ll need for this delightful recipe:
- 2 cups all-purpose flour
- 1 cup unsalted butter, softened
- 1 cup powdered sugar
- 1 egg (large, friendly, and full of character)
- 1 teaspoon vanilla extract (the magical ingredient that makes everything better)
- 1 teaspoon baking powder
- A pinch of salt (to enhance all those sweet flavors)
- Optional: Colorful sprinkles, nuts, or chocolate chips for that festive flair!
Directions
Step 1: Mixing Up the Magic
- Preheat your oven to a cozy 350°F (that’s 175°C for our metric friends).
- In a large mixing bowl, cream the butter and powdered sugar together until fluffy—yes, like your favorite cloud!
- Add the egg and vanilla extract, mixing until well blended. We all know eggs are the binders of happiness in any treat, right?
- In a separate bowl, whisk the flour, baking powder, and salt together, creating a happy little dry mix.
Step 2: Bring It All Together
- Gradually add the dry ingredients to the wet mixture, stirring until you have a beautiful, cohesive dough. Don’t be afraid to get your hands in there; it’s all part of the fun!
- If you’re feeling adventurous, toss in those colorful sprinkles or chocolate chips at this point for a festive surprise.
Step 3: Bake to Perfection
- Roll the dough into small balls (about 1 inch in diameter—think "perfect bite size"). Place them on a baking sheet, ensuring they have enough space to spread a little (they’re not social distancing).
- Bake for about 10-12 minutes or until the edges are lightly golden. You want your kitchen to smell like a bakery, so maybe don’t burn them—trust me; it’s not a good look!
Step 4: Cooling and Decorating
- Once baked, let them cool on a wire rack (if you can resist the urge to eat them warm, which, truthfully, is hard!).
- Once cooled, feel free to frost or top with icing, sprinkles, or even just a dusting of powdered sugar—whatever makes your heart sing!
Cooking Tips
- Don’t worry if your cookie shapes are a little quirky—it’s all part of the magic! Embrace the wonky shapes; after all, who doesn’t love a good story about a cookie that looks like it fell off a sleigh?
- If you’re short on time, you can chill the dough for 30 minutes to make it easier to handle. And yes, it gives you extra time to sip on that holiday cheer (or maybe coffee).
- For those with an adventurous palate, swap out the vanilla for almond extract for a nutty twist!
Personal Anecdote
I remember waiting eagerly for the holidays as a child, standing on tiptoes as my grandma whipped up her signature treats. My siblings and I would sneak bites of dough when she wasn’t looking (shh, don’t tell!). Those moments of sweet indulgence were filled with giggles, flour fights, and the kind of warmth that still makes my heart swell today.
FAQs
Can I substitute butter in this recipe?
Yes, you can use margarine or even a dairy-free alternative, but be aware that this will slightly alter the texture of the treats.
How do I store leftovers?
Once cool, store them in an airtight container for up to a week (if they last that long!). They can also be frozen for that emergency cookie craving—just make sure to seal them tight!
Can I personalize these treats?
Absolutely! Get creative by adding your favorite mix-ins—nuts, candies, or dried fruit can add a special touch that makes these treats uniquely yours.
With the holidays in full swing, it’s the perfect time to pull out this simple yet delightful recipe for Grandma’s Holiday Treats. Not only will you fill your home with warm smells of joy, but you’ll also create sweet moments with those you cherish. So, go ahead, grab your apron, turn on that holiday playlist, and let’s bake up something that’ll leave everyone asking for the recipe (and just maybe, they won’t even know how simple it was)!
Grandma’s Holiday Treats are the perfect addition to your festive celebrations, embodying love, flavor, and a sprinkle of sweet nostalgia. Dive into the sweetness, and share the love. Happy baking!
Meta Description: Grandma’s Holiday Treats are quick, easy, and delicious! A heartwarming recipe perfect for holiday gatherings. Bake some joy today!
For more delightful recipes, check out my other holiday-themed articles like Christmas Cookie Delights and Festive Pasta Salads. Each dish is crafted with love, just like Grandma used to make!

Grandma's Holiday Treats
Ingredients
Method
- Preheat your oven to 350°F (175°C).
- In a large mixing bowl, cream the butter and powdered sugar together until fluffy.
- Add the egg and vanilla extract, mixing until well blended.
- In a separate bowl, whisk together the flour, baking powder, and salt.
- Gradually add the dry ingredients to the wet mixture, stirring until you have a cohesive dough.
- If desired, mix in colorful sprinkles or chocolate chips.
- Roll the dough into small balls (1 inch in diameter) and place them on a baking sheet.
- Bake for 10-12 minutes or until the edges are lightly golden.
- Let the cookies cool on a wire rack.
- Once cooled, top with frosting, sprinkles, or a dusting of powdered sugar.