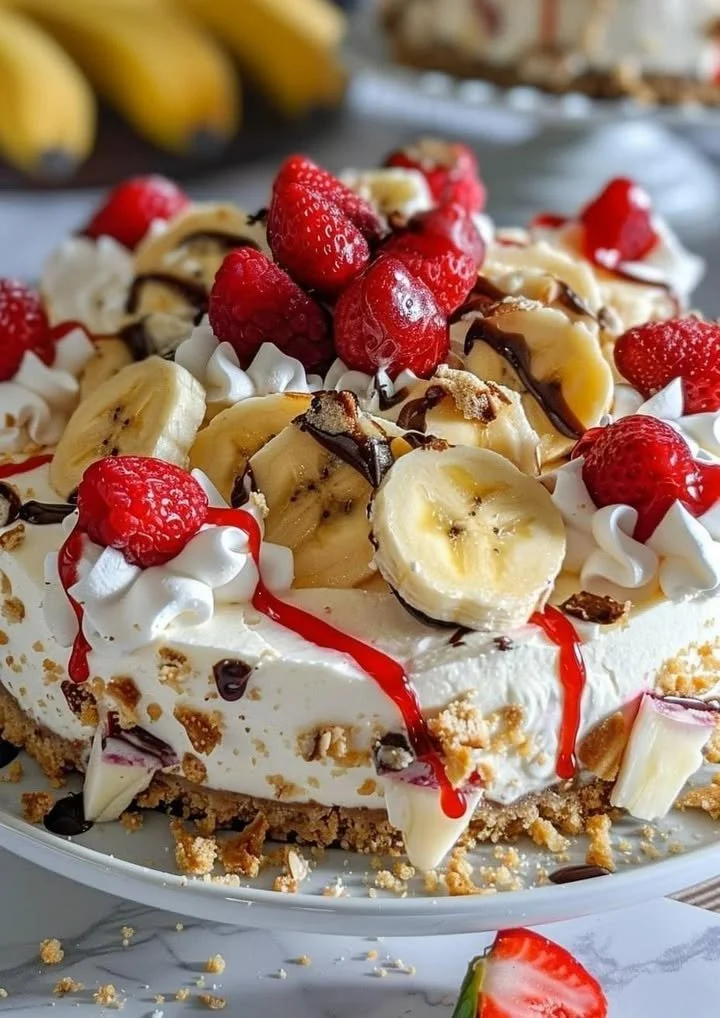
Heavenly No-Bake Banana Split Cheesecake: A Slice of Pure Joy
Are you ready to transform a humble banana into a dessert that’ll have your friends and family singing your praises? The Heavenly No-Bake Banana Split Cheesecake is here to rescue your dessert table and your sanity. Trust me; this delight is as easy as pie—except it’s not a pie! With a creamy cheesecake filling, luscious toppings, and the best part? No baking required! So, let’s dive into this treat that’s perfect for any gathering—or just because it’s Tuesday!
Why You’ll Love This Heavenly No-Bake Banana Split Cheesecake
Life can be hectic, whether you’re juggling work, kids, or personal time. This recipe is your golden ticket to creating a delicious dessert without spending hours in the kitchen. It’s quick, it’s easy, and it’s versatile enough to satisfy even the pickiest of eaters. Plus, who doesn’t love a dessert that showcases a classic flavor combo of bananas and chocolate? Spoiler alert: it’s a surefire crowd-pleaser.
Ingredients
Here’s what you’ll need to whip up this cheesecake magic:
-
For the crust:
- 1 ½ cups graham cracker crumbs
- ½ cup unsalted butter, melted
- ¼ cup granulated sugar
-
For the cheesecake filling:
- 2 cups cream cheese, softened
- 1 cup powdered sugar
- 2 cups heavy whipping cream
- 1 teaspoon vanilla extract
- 2 ripe bananas, mashed
- 1 tablespoon lemon juice
-
For the toppings:
- ½ cup chocolate syrup
- 1 cup whipped cream (store-bought or homemade)
- 1 banana, sliced
- Maraschino cherries (because what’s a banana split without them?)
Steps to Heavenly Bliss
-
Crust Creation: In a large mixing bowl, combine the graham cracker crumbs, melted butter, and granulated sugar. Stir until all the crumbs are evenly coated. Press this mixture firmly into the bottom of a 9-inch springform pan to create a solid crust. You might want to use the back of a measuring cup to ensure it’s even. Set it aside.
-
Cheesecake Filling Magic: In a separate bowl, beat the cream cheese until it’s smooth and fluffy. Gradually add in the powdered sugar, mixing until combined. Then, fold in the heavy whipping cream, vanilla extract, mashed bananas, and lemon juice. Mix gently until everything is well incorporated. The lemon juice will keep those bananas from turning brown, so it’s a win-win!
-
Assembly Time: Pour the cheesecake filling over the crust in the springform pan, spreading it evenly. Cover it with plastic wrap and refrigerate for at least 4 hours, or overnight if you can resist the temptation.
-
The Grand Finale: When you’re ready to serve, remove the cheesecake from the fridge. Drizzle the chocolate syrup over the top, then add a generous layer of whipped cream. Decorate with banana slices and a few maraschino cherries for that iconic banana split look.
-
Slice and Serve: Once it’s beautifully decorated, it’s time to slice it up and watch the smiles appear as your guests dig in!
Tips for the Perfect Cheesecake
- Chill Out: The longer you chill this cheesecake, the firmer it will become. Trust me, it’s worth the wait!
- Fancy It Up: For an extra layer of flavor, consider adding crushed nuts or sprinkles on top. Everyone loves a little extra crunch!
- Don’t Skip the Lemon Juice: It’s not just a flavor enhancer; it helps keep your bananas looking fresh and vibrant!
A Little Story from My Kitchen
The first time I made this cheesecake, I was in a rush to prepare for one of our family gatherings. As I slapped the filling together, my daughter sauntered in, curious about the commotion. “Can I help, Mom?” she asked, holding a spoon and a cheeky grin. Let’s just say it turned into a bit of a food-fight-meets-cheesecake-making extravaganza. We ended up with more cream on our faces than in the bowl! But it became one of our favorite traditions, and now, every time I make this cheesecake, we set aside some time for a little fun in the kitchen.
FAQs About the Heavenly No-Bake Banana Split Cheesecake
Can I substitute the cream cheese?
Absolutely! You can use mascarpone cheese or even a non-dairy cream cheese alternative for a lighter twist.
How can I store leftovers?
If you are lucky enough to have leftovers, keep them in an airtight container in the fridge for up to 3 days. Just remember, they won’t last long—trust me!
Can I use other fruits in this recipe?
Of course! Strawberries or even peaches can be swapped in for a delightful twist. Feel free to get creative!
As you can see, Heavenly No-Bake Banana Split Cheesecake is not just a dessert—it’s an experience filled with laughter, creativity, and smiles. Whether you’re entertaining guests or treating yourself after a long day, this cheesecake is sure to deliver a slice of happiness.
So, what are you waiting for? Grab those bananas, call your loved ones, and create your own little slice of heaven today!
Meta Description: Heavenly No-Bake Banana Split Cheesecake is the perfect recipe for busy days. Quick, easy, and delicious, it will become your go-to treat!

Heavenly No-Bake Banana Split Cheesecake
Ingredients
Method
- In a large mixing bowl, combine the graham cracker crumbs, melted butter, and granulated sugar. Stir until all the crumbs are evenly coated.
- Press this mixture firmly into the bottom of a 9-inch springform pan to create a solid crust. You might want to use the back of a measuring cup to ensure it’s even. Set it aside.
- In a separate bowl, beat the cream cheese until it’s smooth and fluffy.
- Gradually add in the powdered sugar, mixing until combined.
- Then, fold in the heavy whipping cream, vanilla extract, mashed bananas, and lemon juice. Mix gently until everything is well incorporated.
- Pour the cheesecake filling over the crust in the springform pan, spreading it evenly.
- Cover it with plastic wrap and refrigerate for at least 4 hours, or overnight if you can resist the temptation.
- When you’re ready to serve, remove the cheesecake from the fridge.
- Drizzle the chocolate syrup over the top, then add a generous layer of whipped cream.
- Decorate with banana slices and a few maraschino cherries for that iconic banana split look.
- Once it’s beautifully decorated, it’s time to slice it up and watch the smiles appear as your guests dig in!