
Homemade Amish White Bread: A Taste of Tradition Made Easy
Ah, Homemade Amish White Bread—just the name can conjure up visions of cozy kitchens and warm, inviting aromas wafting through the air like a hug for your taste buds. If you’ve been on the hunt for a comforting loaf that feels just as good to make as it does to eat, look no further! This bread is the perfect solution for those busy weekdays when you want to bring a little love into your kitchen without spending all day there.
In this article, we’ll dive into the world of Amish White Bread—its simplicity, its richness, and why it will soon become a staple in your household. Let’s roll up our sleeves, grab those aprons, and knead our way to a delightful homemade loaf that the whole family will adore.
Why You’ll Love This Homemade Amish White Bread
Picture this: You’ve had a long day, the kids are clamoring for something—anything—that resembles food, and you want to impress your family without expending all your energy. Well, this recipe is your edible superhero. Amish White Bread is not only easy to whip up, but it also requires just a handful of basic ingredients. Before you know it, you’ll have a beautifully risen loaf that can be enjoyed with breakfast, lunch, dinner, or as a midnight snack!
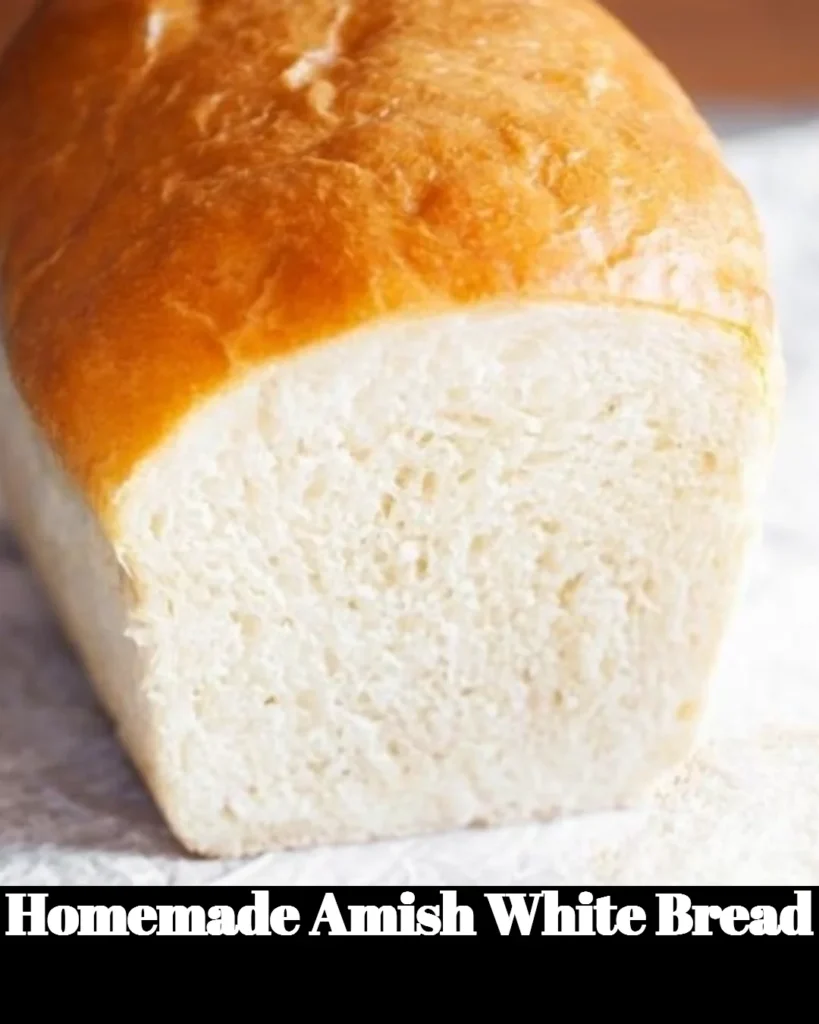
Plus, nothing beats the satisfaction of pulling a freshly baked loaf out of your oven. The soft, fluffy texture practically begs to be slathered with butter or used to make a sandwich that would make any deli jealous.
Ingredients
Here’s what you’ll need to get started:
- 4 cups all-purpose flour (plus a little extra for dusting)
- 1 ½ cups warm water (not too hot, or you’ll activate the yeast too quickly!)
- 2 tablespoons sugar (because sweet is always a good idea)
- 2 ¼ teaspoons instant yeast (about one packet, hello, easy!)
- 2 teaspoons salt (season your dough right!)
- 2 tablespoons vegetable oil (for that perfect crust)
And there you have it! Just six simple ingredients that you probably already have on hand—no mystery boxes here!
Steps to Bread-making Bliss
-
Mix it Up: In a large bowl, combine the warm water, sugar, and yeast. Let it sit for about 5 minutes until it becomes foamy and bubbly—this is your yeast doing its magic!
-
Add the Good Stuff: Stir in the salt and vegetable oil, followed by the flour, one cup at a time, until the mixture forms a soft dough.
-
Knead Away: Lightly flour your counter and turn your dough out onto it. Knead the dough for about 8-10 minutes until it’s smooth and elastic. (If kneading isn’t your thing, feel free to channel your inner bread-machine hero!)
-
First Rise: Place your dough in a greased bowl, cover it with a damp cloth, and let it rise in a warm spot until it doubles in size—around 1-2 hours. You could chime in on some Netflix during this downtime; after all, it’s called “set it and forget it” for a reason!
-
Shape It: Punch down the risen dough (yes, take that!) and turn it out onto a floured surface. Shape it into a loaf and place it in a greased 9×5-inch loaf pan.
-
Second Rise: Cover again and let it rise for another 30-45 minutes. You’ll know it’s ready when it has puffed up nicely and is about an inch above the rim of your pan.
-
Preheat the Oven: While you’re waiting for the dough to rise, go ahead and preheat your oven to 350°F (175°C).
-
Bake It Up: Bake in the preheated oven for about 30-35 minutes until golden brown. You’ll know it’s done when it sounds hollow when tapped on the bottom.
-
Cool Down: Let it cool in the pan for about 10 minutes before transferring it to a wire rack to cool completely. If you’re anything like me, you’ll want to sneak a slice while it’s still warm—who could resist?
Tips for the Perfect Loaf
- Flour Power: Make sure your flour is fresh for the best taste and rise.
- Temperature Check: Use a kitchen thermometer to ensure your water is around 110°F; too hot will kill the yeast, and too cold won’t activate it.
- Experiment: Once you’ve nailed the basics, feel free to swap out some of the white flour for whole wheat or even rye flour for a different twist.
FAQs
Can I substitute all-purpose flour with whole wheat flour?
Absolutely! Just remember, if you go 100% whole wheat, you might need to add a tad more water, as it’s thirstier than white flour.
How can I store leftovers?
Wrap your bread in plastic wrap or store it in a bread box to keep it fresh. You can also slice and freeze it for up to three months—when the craving hits, you can pop a slice in the toaster!
What can I make with leftover bread?
Use it to whip up some delicious French toast, or make croutons for a salad, or just have a classic peanut butter and jelly day with the kids!
Nothing warms the soul quite like Homemade Amish White Bread. Not only does it provide comfort, but it also gives you a wonderful excuse to gather your loved ones around the dinner table, sharing stories over slices of freshly baked goodness.
So go ahead, give this delightful recipe a try. You’ll find that it’s not just about bread; it’s about creating memories and filling hearts—as cheesy as that sounds! After all, who wouldn’t want to fill their home with the aroma of homemade bread?
Ready to explore more mouthwatering recipes? Check out Anna’s Kitchen for more delicious ideas that celebrate the joys of cooking!
Meta Description: Homemade Amish White Bread is the perfect recipe for busy days. Quick, easy, and delicious, this loaf will become your go-to for comfort!
Homemade Amish White Bread
Ingredients
Method
- In a large bowl, combine the warm water, sugar, and yeast. Let it sit for about 5 minutes until it becomes foamy and bubbly.
- Stir in the salt and vegetable oil, followed by the flour, one cup at a time, until the mixture forms a soft dough.
- Lightly flour your counter and turn your dough out onto it. Knead the dough for about 8-10 minutes until it’s smooth and elastic.
- Place your dough in a greased bowl, cover it with a damp cloth, and let it rise in a warm spot until it doubles in size, around 1-2 hours.
- Punch down the risen dough and turn it out onto a floured surface. Shape it into a loaf and place it in a greased 9x5-inch loaf pan.
- Cover again and let it rise for another 30-45 minutes.
- Preheat your oven to 350°F (175°C).
- Bake in the preheated oven for about 30-35 minutes until golden brown and sounds hollow when tapped on the bottom.
- Let it cool in the pan for about 10 minutes before transferring it to a wire rack to cool completely.