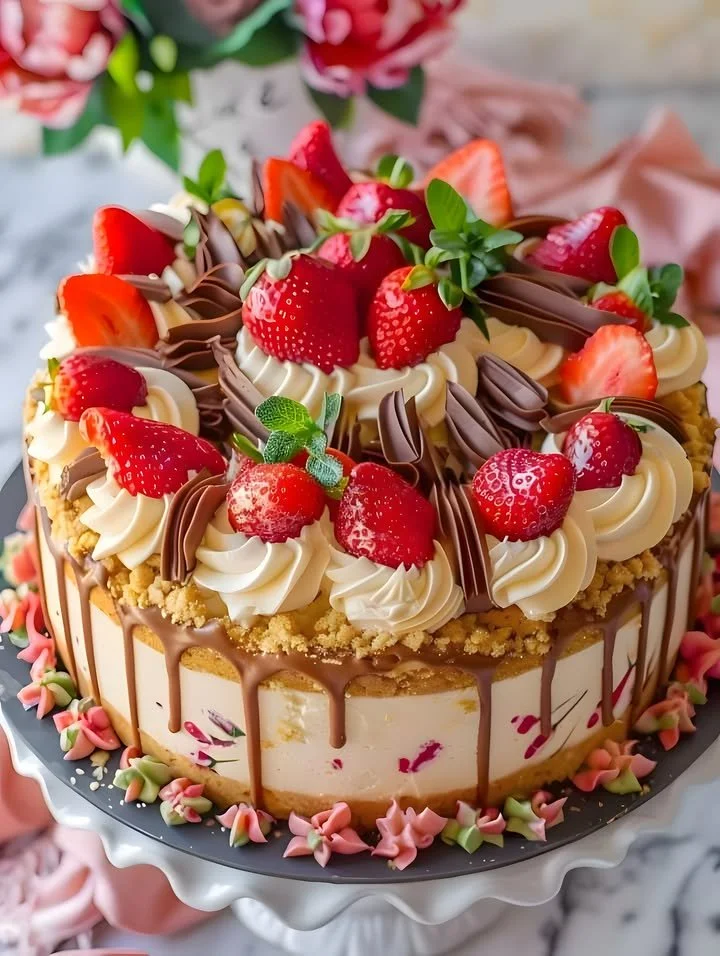
Lavishly Decorated Strawberries Cheesecake: A Showstopper for Any Occasion
Have you ever wanted to impress your guests without spending hours in the kitchen? Enter the Lavishly Decorated Strawberries Cheesecake! This recipe is not only visually stunning but also a delicious way to satisfy that sweet tooth. Whether you’re preparing for a birthday bash, a hens’ night, or simply indulging in a cozy evening at home, this cheesecake will have everyone raving. Plus, it packs a flavor punch without demanding too much of your precious time.
Why You’ll Love This Lavishly Decorated Strawberries Cheesecake
Let’s face it: desserts can sometimes feel like an all-or-nothing endeavor, can’t they? Either you go for a store-bought option that’s a bit lackluster or try to tackle a complex recipe that leaves you questioning your culinary skills. That’s where this Lavishly Decorated Strawberries Cheesecake shines! It’s embarrassingly easy but looks like you’ve spent hours crafting it. Perfect for busy moms, working professionals, or anyone who wants to wow friends with minimal effort.
Ingredients
Before diving into the delightful world of cheesecake-making, let’s gather what you’ll need:
-
Crust:
- 1 ½ cups graham cracker crumbs
- ½ cup unsalted butter, melted
- ¼ cup sugar
-
Cheesecake Filling:
- 4 packages (8 ounces each) cream cheese, softened
- 1 cup sugar
- 1 teaspoon vanilla extract
- 4 large eggs
- 1 cup sour cream
-
Topping:
- 2 cups fresh strawberries, hulled and sliced
- ½ cup strawberry jam or glaze
- Whipped cream for decoration (optional)
- Fresh mint leaves (for the optional fancy touch)
Now that we’re all set, it’s time to bring this beauty to life!
Steps to Success
-
Prepare the Crust: Start by preheating your oven to 350°F (175°C). In a medium bowl, combine graham cracker crumbs, melted butter, and sugar. Mix until thoroughly combined. Press this mixture firmly into the bottom of a 9-inch springform pan. Aim for an even layer—it’s the foundation of your cheesecake!
-
Bake the Crust: Pop the crust into the oven for about 10 minutes, until slightly golden. While it’s baking, you can pat yourself on the back for being so productive!
-
Make the Filling: In a large mixing bowl, beat the softened cream cheese with an electric mixer until creamy. Gradually add sugar and vanilla, mixing well. One by one, add eggs, ensuring each is fully incorporated. Finally, blend in the sour cream.
-
Pour and Bake: Pour the cheesecake filling over the crust. Smooth the top gently with a spatula to keep it looking neat. Bake for about 60 minutes, or until the center is set but slightly wobbly (it will firm up as it cools).
-
Cool It Down: After baking, turn off the oven and crack open the oven door slightly. Allow the cheesecake to cool in the oven for about an hour. This helps prevent cracks—no one likes a cracked cheesecake!
-
Chill Out: Once cooled, transfer the cheesecake to the fridge and let it chill for at least 4 hours, but overnight is ideal. It’s okay if you sneak a taste before it chills—just don’t get too greedy!
-
Decorate: Before serving, toss your fresh strawberries with the strawberry jam or glaze. Spoon them beautifully over the top of your cheesecake. If you’re feeling extra fancy, add a swirl of whipped cream and some fresh mint leaves. Look at you, culinary artist!
Cooking Tips
- No Cracks, More Confidence: If you’re new to baking cheesecakes, feel free to avoid the oven crack step. If you closely monitor your baking time, you’ll probably avoid cracks altogether.
- Serving Size: A well-portioned cheesecake is always a crowd-pleaser. Aim for 12 slices, and to be super generous, consider serving alongside coffee or tea to make it a true occasion!
- Storage: Leftovers can be covered and stored in the fridge for up to a week, but let’s be honest—this cheesecake is usually gone long before then!
Frequently Asked Questions
-
Can I substitute other fruits in this recipe? Absolutely! While strawberries are the star here, feel free to swap in blueberries, raspberries, or even peaches. Just adjust the jam accordingly for a different flavor profile.
-
How do I store leftovers? Simply cover the cheesecake with plastic wrap or a lid and refrigerate. You might want to set a reminder to finish it off before the week is up!
Everything about this Lavishly Decorated Strawberries Cheesecake feels like self-care—you make it, you eat it, and you cherish the smiles on loved ones’ faces as they take their first bites. It’s not just about dessert; it’s about the memories created in the kitchen. So, grab that apron and let’s make magic happen. Your future self (and your friends) will thank you!
Don’t forget to check out my other dessert recipes that will elevate your hosting game—like my Decadent Chocolate Mousse or the classic Mom’s Apple Pie. Each of these recipes is crafted with love and creativity, just like this cheesecake!
Meta Description: Lavishly Decorated Strawberries Cheesecake is a quick, easy, and delicious dessert that will impress your guests. Try it today!

Lavishly Decorated Strawberries Cheesecake
Ingredients
Method
- Preheat your oven to 350°F (175°C). In a medium bowl, combine graham cracker crumbs, melted butter, and sugar. Mix until thoroughly combined.
- Press this mixture firmly into the bottom of a 9-inch springform pan.
- Pop the crust into the oven for about 10 minutes, until slightly golden.
- In a large mixing bowl, beat the softened cream cheese with an electric mixer until creamy.
- Gradually add sugar and vanilla, mixing well.
- One by one, add eggs, ensuring each is fully incorporated.
- Finally, blend in the sour cream.
- Pour the cheesecake filling over the crust. Smooth the top gently with a spatula.
- Bake for about 60 minutes, or until the center is set but slightly wobbly.
- After baking, turn off the oven and crack open the oven door slightly. Allow the cheesecake to cool in the oven for about an hour.
- Once cooled, transfer the cheesecake to the fridge and let it chill for at least 4 hours, but overnight is ideal.
- Before serving, toss your fresh strawberries with the strawberry jam or glaze. Spoon them beautifully over the top of your cheesecake.
- Optionally, add a swirl of whipped cream and some fresh mint leaves.