Strawberry Cheesecake Lush: A Delightful No-Bake Dessert to Impress!
Are you ready to dive into a dessert that screams summer? Say hello to Strawberry Cheesecake Lush! This delightful treat combines the freshness of strawberries with the dreamy creaminess of cheesecake, all without the hassle of baking. It’s perfect for those busy days when you want to impress your family or guests with something extraordinary, all while fitting it into your jam-packed schedule.
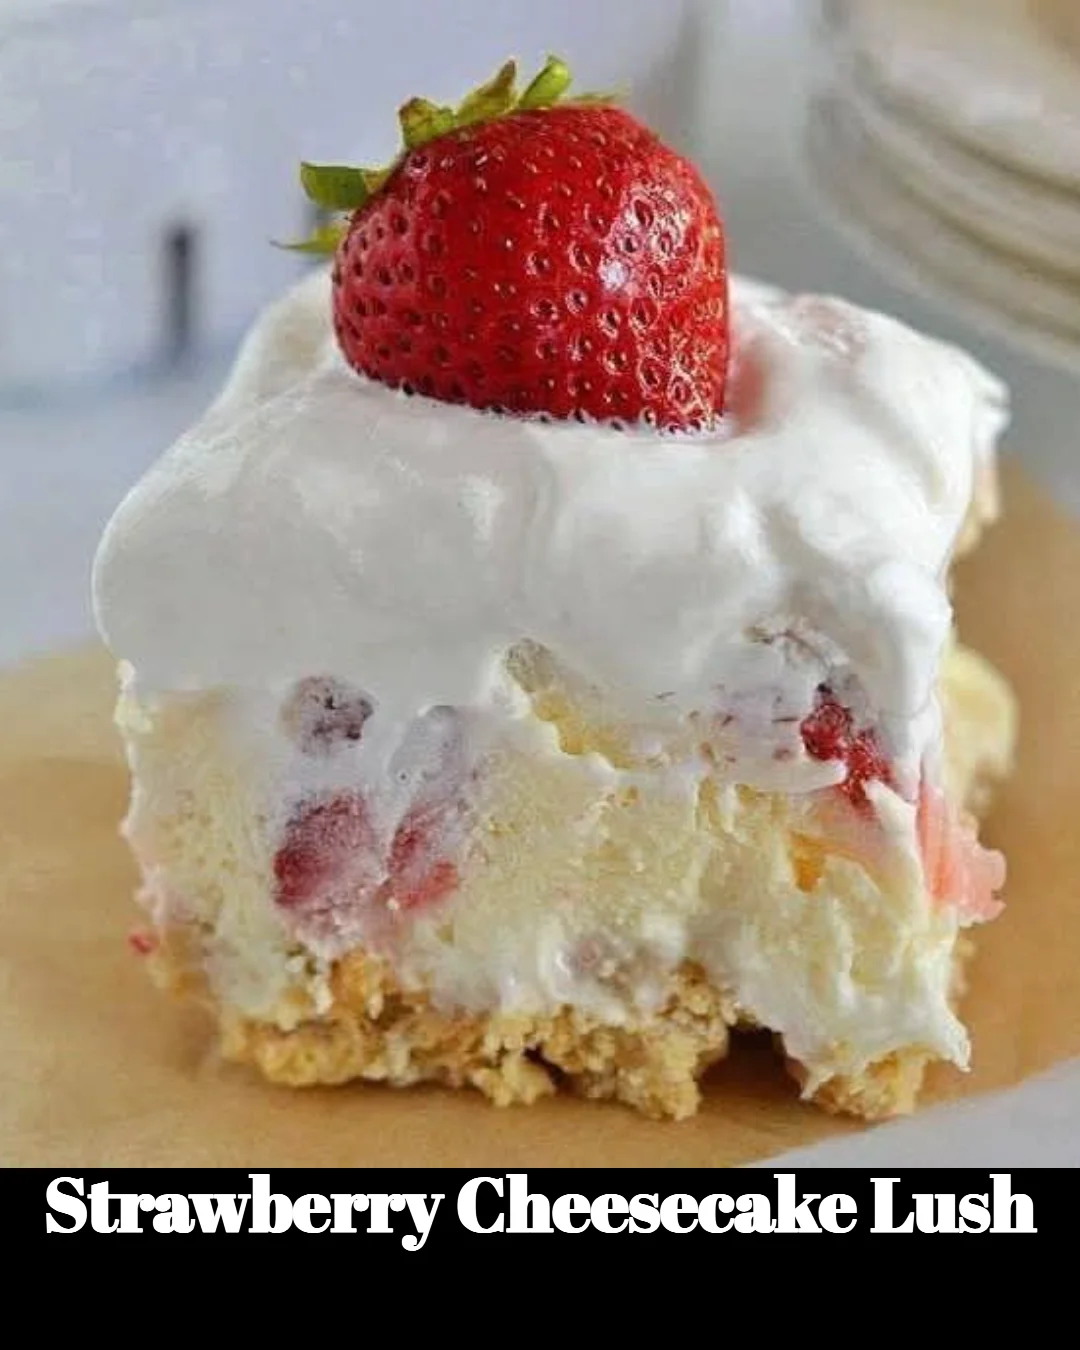
Picture this: a creamy, luscious layer of cheesecake goodness, perfectly complemented by sweet, juicy strawberries—what’s not to love?
Why You’ll Love This Strawberry Cheesecake Lush
Let’s be honest, if you’re anything like me, you could use a few quick and easy dessert options up your sleeve. This Strawberry Cheesecake Lush isn’t just simple; it’s a showstopper! It’s the kind of dessert that makes your kitchen smell like a sunlit bakery and your heart swell with joy. You might even get a few “oohs” and “aahs” from your friends and family (and we all know how addictive that praise can be, right?).
Here’s what makes this recipe a keeper:
- No-Bake Wonder: Perfect for those hot summer days when the last thing you want is to turn on the oven.
- Quick & Easy: With a handful of simple ingredients and minimal prep time, you can whip this up and get right back to binge-watching your favorite show!
- Versatile Delight: You can easily switch out strawberries for your favorite berries or even mix in a little chocolate for an extra indulgence.
Ingredients
Here’s what you’ll need to create your own Strawberry Cheesecake Lush:
-
For the crust:
- 1 ½ cups graham cracker crumbs
- ⅓ cup granulated sugar
- 1/2 cup unsalted butter, melted
-
For the cheesecake layer:
- 8 oz cream cheese, softened
- 1 cup powdered sugar
- 1 cup whipped topping (like Cool Whip)
- 1 tsp vanilla extract
-
For the strawberry layer:
- 2 cups fresh strawberries, sliced
- 1/4 cup granulated sugar (for macerating the strawberries)
-
For the topping:
- Extra whipped topping, for garnish
- Optional: additional sliced strawberries for decoration
Steps to Create Your Strawberry Cheesecake Lush
-
Make the Crust: In a bowl, mix the graham cracker crumbs, granulated sugar, and melted butter until well combined. Press this mixture evenly into the bottom of a 9×13-inch dish. Put it in the fridge to chill while you whip up the cheesecake layer.
-
Prepare the Cheesecake Layer: In another bowl, beat the softened cream cheese until smooth. Gradually add powdered sugar, mixing until well blended. Then fold in the whipped topping and vanilla extract until all the ingredients are combined.
-
Spread the Cheesecake: Once your crust has set in the fridge (about 10 minutes), spread the cheesecake mixture evenly over the crust.
-
Macerate the Strawberries: Combine the sliced strawberries and granulated sugar in a bowl. Let them sit for about 10-15 minutes, or until juicy and lovely.
-
Layer Those Berries: Spoon the macerated strawberries over the cheesecake layer. You can arrange them artistically or just dump them on—there’s really no wrong way here!
-
Top it Off: Chill your Strawberry Cheesecake Lush in the fridge for at least 2 hours (if you can resist the temptation). Before serving, garnish with whipped topping and additional strawberries if you’re feeling fancy!
-
Serve & Enjoy: Cut into squares, serve, and watch the smiles appear!
Cooking Tips
- Quick Make-Ahead: This dessert can be made a day in advance, making it a perfect choice for parties or family gatherings.
- Berry Alternatives: Feel free to swap out strawberries for blueberries, raspberries, or even a mix of all three for a colorful twist!
- Extra Creamy: If you want a more decadent cheesecake layer, try adding an extra ounce of cream cheese or a splash of lemon juice for a tangy kick.
FAQs
Can I substitute the graham cracker crust for something gluten-free?
Absolutely! Use gluten-free graham crackers or even almond flour mixed with melted butter for a tasty alternative.
How can I store leftovers?
If you’re lucky enough to have any leftovers, cover them tightly with plastic wrap and store in the fridge for up to 3 days.
Can I use frozen strawberries?
Sure! Just thaw and drain them to remove some extra moisture, then follow the same steps for maceration.
Let’s face it, life can sometimes be as chaotic as a game of Tetris, filled with juggling chores, work, and, of course, those little blessings we call kids. But that doesn’t mean you can’t whip up something special every now and then. The Strawberry Cheesecake Lush is not only delicious but also a reminder that you can create joy with just a few fresh ingredients.
So, grab your apron, put on your favorite playlist, and let’s make some sweet memories! Trust me, once you bring this luscious dessert to your table, it’ll be a hit. Get ready for the rave reviews, and don’t forget to share your creations with us!
For more easy recipes to complement your gatherings, check out my other delightful treats like Classic Chocolate Chip Cookies or No-Bake Peanut Butter Bars.
Meta Description
"Strawberry Cheesecake Lush is the perfect recipe for busy individuals. Quick, easy, and delicious, this dish will become your go-to dessert. Try it today!"

Strawberry Cheesecake Lush
Ingredients
Method
- In a bowl, mix the graham cracker crumbs, granulated sugar, and melted butter until well combined. Press this mixture evenly into the bottom of a 9×13-inch dish. Put it in the fridge to chill.
- In another bowl, beat the softened cream cheese until smooth. Gradually add powdered sugar, mixing until well blended. Then fold in the whipped topping and vanilla extract until combined.
- Once the crust has set in the fridge (about 10 minutes), spread the cheesecake mixture evenly over the crust.
- Combine the sliced strawberries and granulated sugar in a bowl. Let them sit for about 10-15 minutes, or until juicy.
- Spoon the macerated strawberries over the cheesecake layer.
- Chill your Strawberry Cheesecake Lush in the fridge for at least 2 hours before serving. Garnish with whipped topping and additional strawberries if desired.
- Cut into squares, serve, and enjoy!