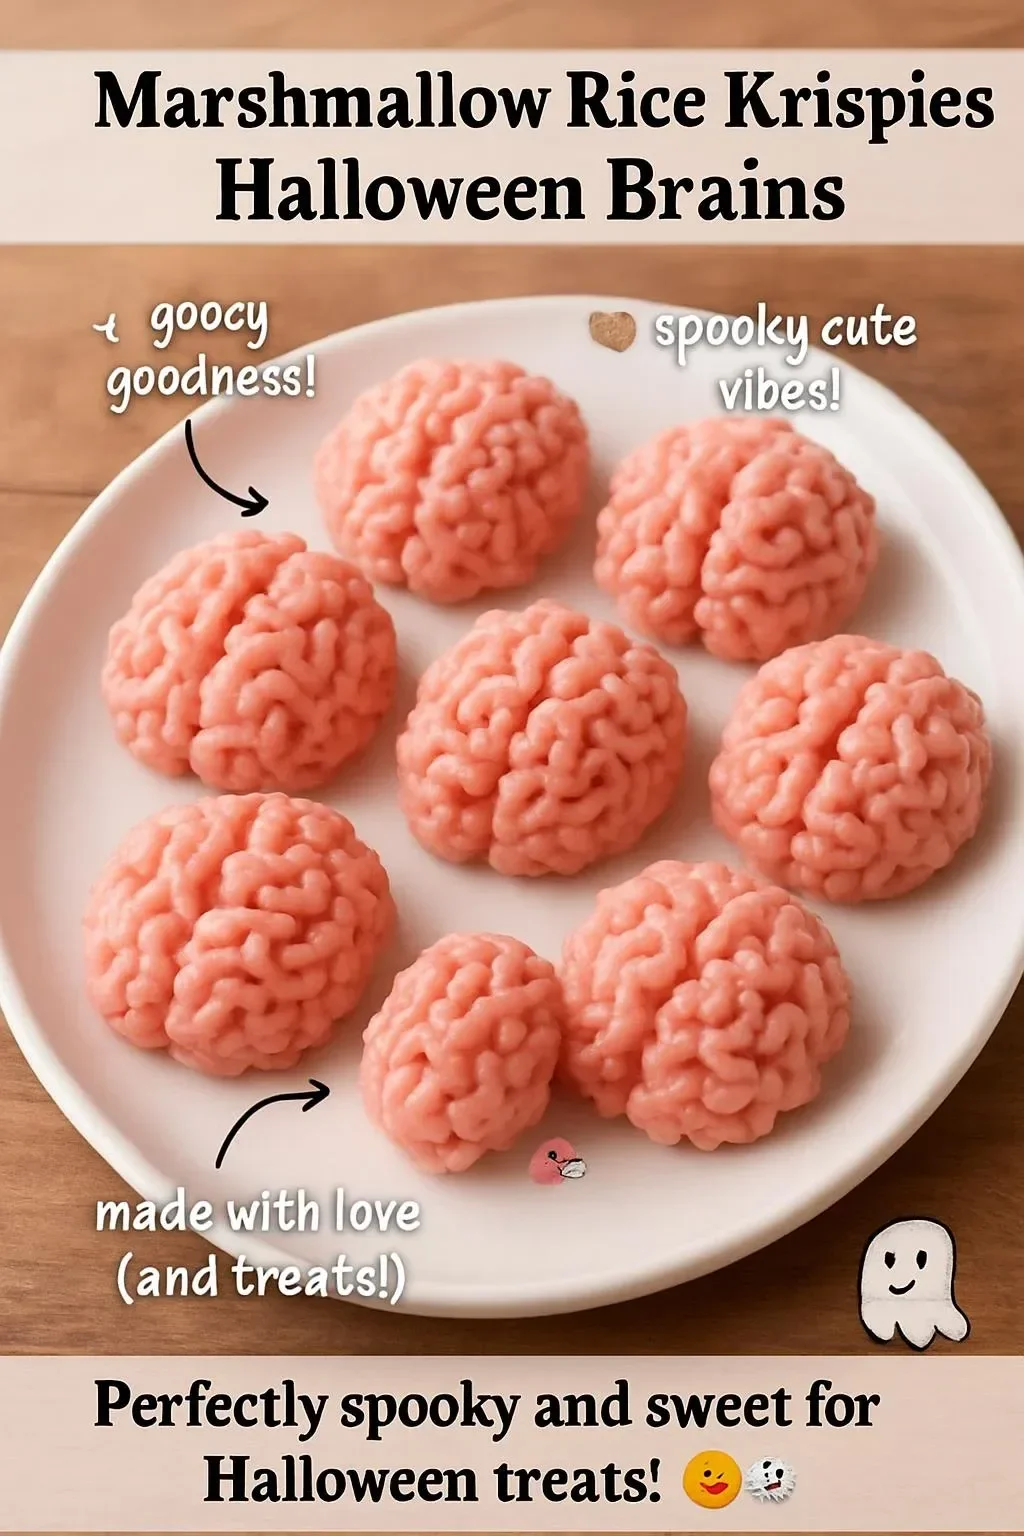
Marshmallow Rice Krispies Halloween Brains: A Spooktacular Treat!
As we dive into the spookiest season of the year, treat yourself (and your loved ones) to a delightfully ghoulish creation that will leave everyone raving — Marshmallow Rice Krispies Halloween Brains! This recipe is not just a fun activity for the kids; it’s also a quick and easy way to bring some festive flair to your Halloween festivities. Imagine the joy on your child’s face when they see these eerie edible brains at the party!
So, grab your apron and let’s whip up a batch of these gooey, marshmallowy delights. You won’t just make tasty treats; you’ll create memories filled with laughter and maybe a little ghostly giggle or two!
Why You’ll Love This Marshmallow Rice Krispies Halloween Brains Recipe
Who doesn’t love a treat that combines nostalgia with a dash of fright? Marshmallow Rice Krispies treats are a classic favorite — and who knew they could be transformed into spooky brains? These treats are not only fun to make but also incredibly delicious, making them the perfect snack for Halloween parties, school events, or just a cozy night in with the family. Plus, they’re so easy to whip up that even the busiest moms can fit them into their schedules (because who doesn’t love a little Halloween fun amidst the chaos?).
Ingredients for Marshmallow Rice Krispies Halloween Brains
- 3 tablespoons of butter
- 1 package (10 oz) of marshmallows (or 4 cups of mini marshmallows)
- 6 cups of Rice Krispies cereal
- Pink candy melts or white chocolate
- Red food coloring
- Black edible marker (optional, for details)
Steps to Create Your Spooky Marshmallow Rice Krispies Halloween Brains
Step 1: Melt the Butter and Marshmallows
In a large pot over medium heat, melt the butter. Once melted, add in the marshmallows, stirring constantly until completely melted and gooey. It’s like a fluffy cloud of goodness!
Step 2: Mix in Rice Krispies
Once your marshmallows are nice and melted, remove the pot from heat, and stir in the Rice Krispies cereal until everything is well-coated. Don’t worry if it looks a bit messy at this point; that’s all part of the fun!
Step 3: Shape into Brains
Using a buttered spatula (or, if you’re feeling adventurous, your hands!), take portions of the mixture and shape them into brain halves. You can make them as big or as small as you like! These treats may not win any beauty contests, but they’re definitely going for the “most creative” award!
Step 4: Decorate Your Brains
Melt the pink candy melts (or white chocolate with a few drops of red food coloring for that authentic brain look) in the microwave — short bursts of 30 seconds work wonders! Once melted, dip the brain halves into the pink coating, making sure to cover them well. While they’re still wet, use a toothpick to create brain details by swirling the chocolate around; your spooky brains are taking shape!
Step 5: Let Them Set
Place your decorated brains on a parchment-lined baking tray and allow them to set until the coating hardens. You could also pop them in the fridge for a few minutes if you’re in a hurry (because sometimes, patience is just not an option with kids around)!
Step 6: Add the Finishing Touches
Using a black edible marker, you can add any details you like to your brains, or just leave them as is. The kids can even help out here, making it a perfect family bonding experience.
Cooking Tips for Your Spooktacular Treats
- Get Creative: Don’t stick to just pink! Try adding green candy melts for a “Zombie Brain” effect or even black drizzle for a more creepy vibe.
- Have Fun with the Shapes: If brains aren’t your thing, use cookie cutters to create different spooky shapes — think ghosts or tombstones!
- Storage: If you have leftovers (which probably won’t happen), store them in an airtight container for up to a week — if they last that long!
FAQs About Marshmallow Rice Krispies Halloween Brains
Can I substitute ingredients?
Absolutely! You can use different types of cereal, like Fruit Loops or Cocoa Krispies, for a twist. The key is maintaining that same gooey texture.
How can I store leftovers?
Store your treats in an airtight container at room temperature. They’ll stay fresh and tasty — if, of course, they’re not devoured first!
Can I make them ahead of time?
Definitely! These treats can be made a few days in advance. Just keep them stored properly to maintain their delightful gooeyness!
As we wrap up our delightful Halloween journey with these Marshmallow Rice Krispies Halloween Brains, remember it’s not just about the treats you make; it’s the joy and laughter shared in the kitchen that creates lasting memories. So gather your little goblins, brewing potions while shaping spooky brains, and get ready for a Halloween filled with sweet delights!
Looking for more fun Halloween treats? Check out my spider donut holes for another spooky addition to your festive table.
Happy Halloween, and may your kitchen be filled with giggles and gooey goodness!
Meta Description: Marshmallow Rice Krispies Halloween Brains is the perfect recipe for spooky fun. Quick, easy, and delicious, this treat will delight kids and adults alike!
Marshmallow Rice Krispies Halloween Brains
Ingredients
Method
- In a large pot over medium heat, melt the butter. Once melted, add in the marshmallows, stirring constantly until completely melted and gooey.
- Remove the pot from heat, and stir in the Rice Krispies cereal until everything is well-coated.
- Using a buttered spatula, take portions of the mixture and shape them into brain halves.
- Melt the pink candy melts (or white chocolate with red food coloring) in the microwave in short bursts of 30 seconds.
- Dip the brain halves into the pink coating, ensuring they are well-covered. Use a toothpick to create brain details while the coating is still wet.
- Place the decorated brains on a parchment-lined baking tray and allow them to set until the coating hardens.
- Optionally, use a black edible marker to add details to your brains.